Table of Contents
Introduction / Basic Setup
Recently, I was hired by a company that writes in Perl primarily, and does so on Windows machines locally. As I am primarily a Linux user these days, I was worried about getting a setup that not only worked, but would continue to work when I asked it for more down the road.
If you look in most places, they’ll tell you to install Strawberry Perl or Active Perl. Now, if you are primarily a Windows user, and don’t mind their command line, I highly recommend one of these choices and be done with it (I had better luck with Strawberry). It’ll cover a lot of ground for you and get you started up quickly. Heres a basic article that will cover the details you need to know
But you see, I do mind the Windows command line. I understand that it plus Powershell are a powerful combination in the right hands. My hands are not those hands. I like feeling like I’m in a Linux environment, delusions be damned.
For that, the most popular choice will be Cygwin. I’ve played with it and others, and for our purposes, it will get the job done.
That said, here’s the absolute basics for getting set up (finally, right?).
Installing Cygwin and Perl
- Go to the Cygwin website and download the appropriate version for your operating system type. If you are unsure, here’s some instructions to find out.
-
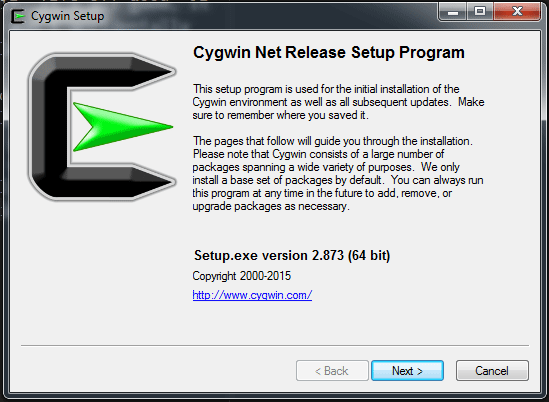
Open the downloaded .exe file. On the first screen you’ll see this sentence: “This setup program is used for the initial installation of Cygwin environment as well as all subsequenct updates. Make sure you remember where you saved it.” That means you’ll be keeping this file after you run the install, because this is how you’ll get new packages and get updates for Cygwin. It’s a little unconventional, but because Cygwin doesn’t actually install a “program” as Windows understands it, Windows doesn’t know how to help it. It’s all good, it just means you should stick this file somewhere where you won’t accidentally remove it. Understanding this, you can close, move the file and start again, or just move on by clicking “Next >”.
-
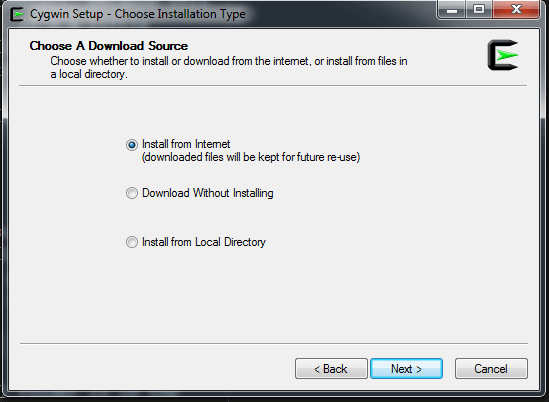
In “Choose A Download Source”, your best bet is just to “Install from Internet” and carry on. Without going into too much detail, you’re looking at more configuration with the other choices, and unless you plan on doing installs without an Internet connection, just choose the first and click “Next >”.
-
In “Select Root Install Directory”, the default install folder is in the
C:\cygwindirectory (orC:\cygwin64if you’re installing the 64-bit version as I am). Click “Next >”.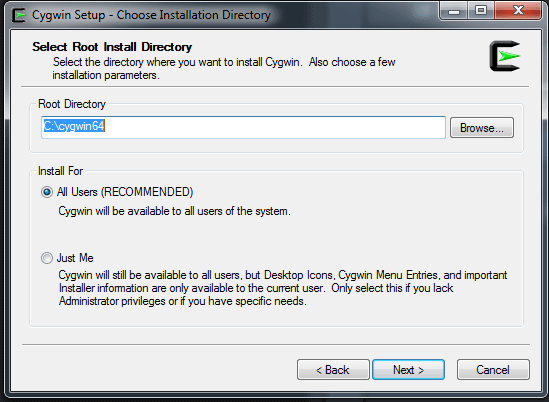
-
In “Select a Local Package Directory”, you will select where all of your packages will live. Like the installer, these are files you will keep, so be sure to select a place that you don’t mind keeping them. For me, the Downloads folder was fine. Click “Next >”.
-
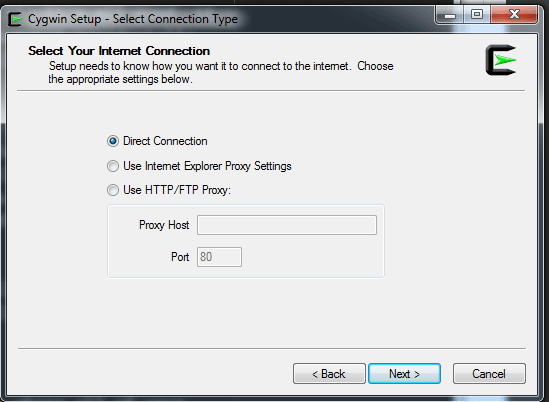
In “Select Your Internet Connection”, you’re most likely going to use “Direct Connection”, unless you know that you need one of the others. Click “Next >”.
-
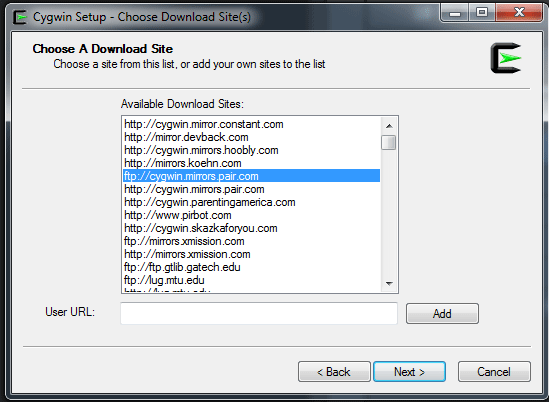
In “Select a Download Site”, you have an insane list of mirrors. This is a good thing, because if one doesn’t work for you, you have plenty of options. At one point I chose “ftp://cygwin.mirrors.pair.com”, and I’ve never had a problem downloading anything. This is the one place where trial and error may come into play, howevever, I doubt you’ll have much trouble.
-
The next screen will attempt to download the package information from the mirror you selected. Depending on connectivity and availability, this can take a few seconds to a couple of minutes. Just let it run until you see the next screen.
-
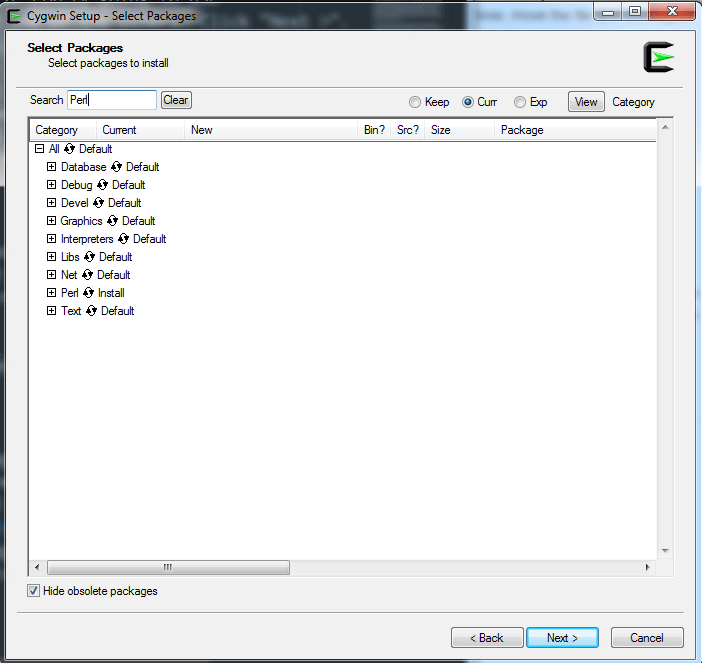
In “Select Packages”, you will be installing Perl. In the search bar in the top, search for “Perl”. From the results look for the “Perl” folder. Next to it, and every other folder, you will see a cycle icon and the word “Default” next to it. For the “Perl” folder, click that cycle icon until it says “Install” next to it. This will download every package Cygwin has for Perl. This may seem like overkill, but like I said, I want my setup to work for the foreseeable future. A quick note: I know this may be obvious, but you will also see other things selected for Install by Cygwin. By default, Cygwin installs some basic packages. Don’t change their status! Just because you don’t think you’ll need it doesn’t mean that you won’t need it later. Better safe than sorry.
-
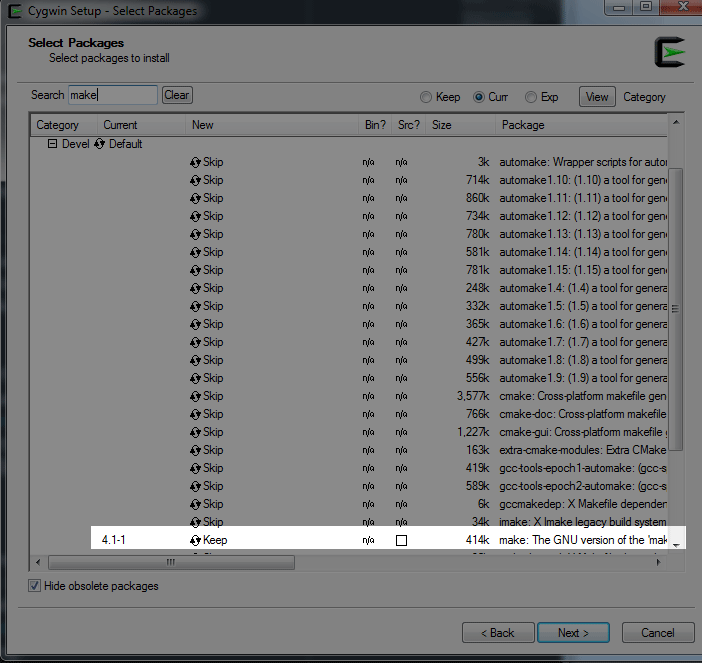
STILL IN “Select Packages”, clear the search for “Perl” and type “make”. If you’re familiar with Perl, you’ll know that you can install packages to extend the language through the CPAN. Without going into too much detail, CPAN requires “make” in order build the packages and use them in your projects. Once you search “make”, open the “Devel” folder, and go down to “make”. Click the cycle icon until it says “Install” next to it (note that the screenshot says “Keep” because I already have it). NOW, click “Next >”.
-
Cygwin will now download everything it needs to get set up. Since this is probably your first time runnning everything, this can take awhile. So grab a coffee, read up on Cygwin if you’re feeling diligent, or ponder the universe if you’re feeling existential.
-
Once it’s done, you’ll have the option to create a shortcut. Do it, so you can find it again.
-
Open Cygwin. You’ll be presented with a Linux-style command line, and you will be in a
homedirectory that Cygwin created for you. In fact, if you look in the cygwin folder, you will see some folders that look an aweful lot like the directory structure of a Unix system. If you want to just be in your C folder, you can typecd cygdrive/c/and you’ll be there. Some people don’t mind this, some would rather their Windows home directory be their Cygwin home directory. Under “Advanced Configuration”, I link to an article that provides steps on how to set that up. Personallly, I like the directory structure and tend to keep it as my default. -
To verify that Perl was installed correctly, type
perl -v, and you should see something similar to the screenshot below. Don’t worry about how different my terminal looks, but the command and the resulting text. It’s okay if you have a different version, but it should be pretty similar.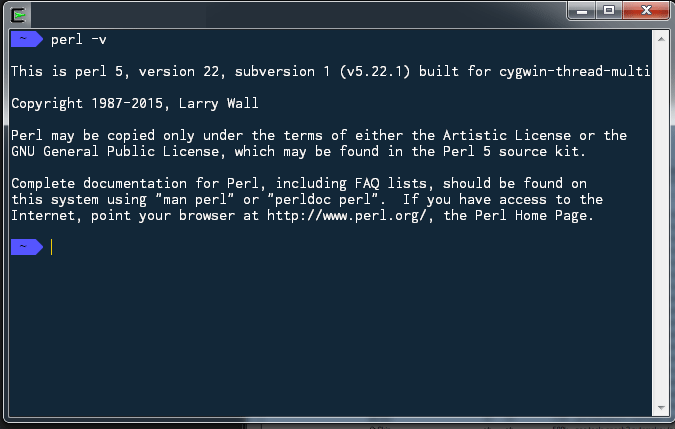
- You’re done!
Cpanminus
If you stopped now, you would be in good shape, and ready to go. But if you want to download packages from CPAN, you may run into something asking you to configure it. If you know what you’re doing, go for it. I, however, had no idea, and stumbled around awhile before I was able to get things installing how I wanted. To save you some pain, I’m going to recommend a package called Cpanminus. It’s basically the same thing as CPAN, but it doesn’t require configuration and provides a simply output to make debugging much simpler. Any differences between the two won’t matter unless you need a specific configuration, but that would mean that someone has decided that configuration, and that person should be helping you, not me.
To install, all you need to do is open Cygwin and run cpan App::cpanminus.
CPAN will run through a number of checks, tests, and build the package for you.
Because we installed make, this should run without any issues.
To verify it works, let’s download a sample package. Let’s do Try::Tiny. This will be almost exactly the same as installing Cpanminus,
except instead of using the cpan command, we use the cpanm command. This
will let Cpanminus install the package for us. So run cpanm Try::Tiny, and
let it run. As it goes, you’ll see OK’s as each thing successfully downloads.
When it’s done, it will let you know how many distributions it’s installed.
Advanced Configuration
There are tons of articles out there on configuring
Cygwin to your liking, and a simple Google search will find what you’re looking
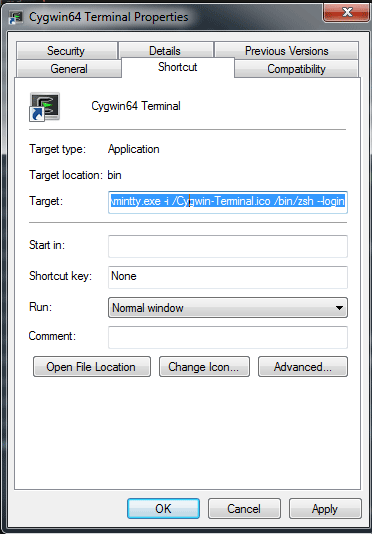
for. As I like zsh, I followed several steps from
this article and changed my
Cygwin Terminal executable to execute the following:
C:\cygwin64\bin\mintty.exe -i /Cygwin-Terminal.ico /bin/zsh --login. I pasted
this in “Target”. This will make Cygwin login to zsh every time it starts up.
It’s not perfect, but it gets the job done, and I will gladly hear out
improvements. Cygwin by default uses mintty
as it’s terminal emulator, and it works just fine for my purposes, so that’s
what is getting executed to get things started.
If you’re unfamiliar with zsh and want to give it a shot, Wes Bos has a tremendous series of videos on getting started.
I expect that for someone reading, some of this reads like a foreign language, and the prospect of changing defaults is intimidating. I understand! I’ve been there, and I don’t think you should have to do a lot of extra configuration unless you really want to. But once you get confortable with Cygwin, you might find yourself willing to try new things.
This is all you need to get to developing Perl on Windows, with a dash of Cygwin config because I wish I had it all in one place when I got started. There are many ways to go about this, but this is the way that has worked for me. I hope all of this helps!